


Among the underwear manufacturer we work with, we have visited dozens of factories to learn how they make underwear. today I’d like to introduce you to how to sew the basic pattern underwear!
Have you ever wanted to sew your own underwear? This pattern is my gift to you as a thank you for following along with me, being a part of this sewing community, and supporting my brand the whole year. You make it possible for me to do what I love, and you inspire me to make more and do better every day. I really hope you enjoy sewing the basic underwear pattern as much as I enjoyed making it for you!
This basic underwear has a low rise (but not super low), and a comfortable leg cut with ample coverage. The gusset has fully enclosed seams because no one needs their undies to include a built-in lint trap pocket. There has high stretch elastic tape on the waistband and leg opening to make a comfortable fit.
Ready to Sew? Let’s Do This!
The first thing you need to do is gather up some fabric or some scraps, as well as your chosen elastic. Your fabric should have at least 20% stretch and good recovery. The last thing you want is for your undergarments to stretch out while you are sewing, or be too small when you try them on, so please make sure you check the stretch and recovery before cutting.
Also given that the fit of the underwear is often a very personal preference, I recommend that you absolutely make a test pair before cutting into your favorite fabric. This will allow you to decide whether you like the fit as is, or whether you need to make changes. This is also a good time to decide if you like the tightness of the elastic or whether you need to adjust that too.
Keep in mind that elastics like fabric can vary in stretch, recovery, and stability, so you may find that you need to make adjustments with some elastic kinds and not others.
This pattern with one kind of elastic tape, fold over the elastic tape on the waistband, and leg opening.
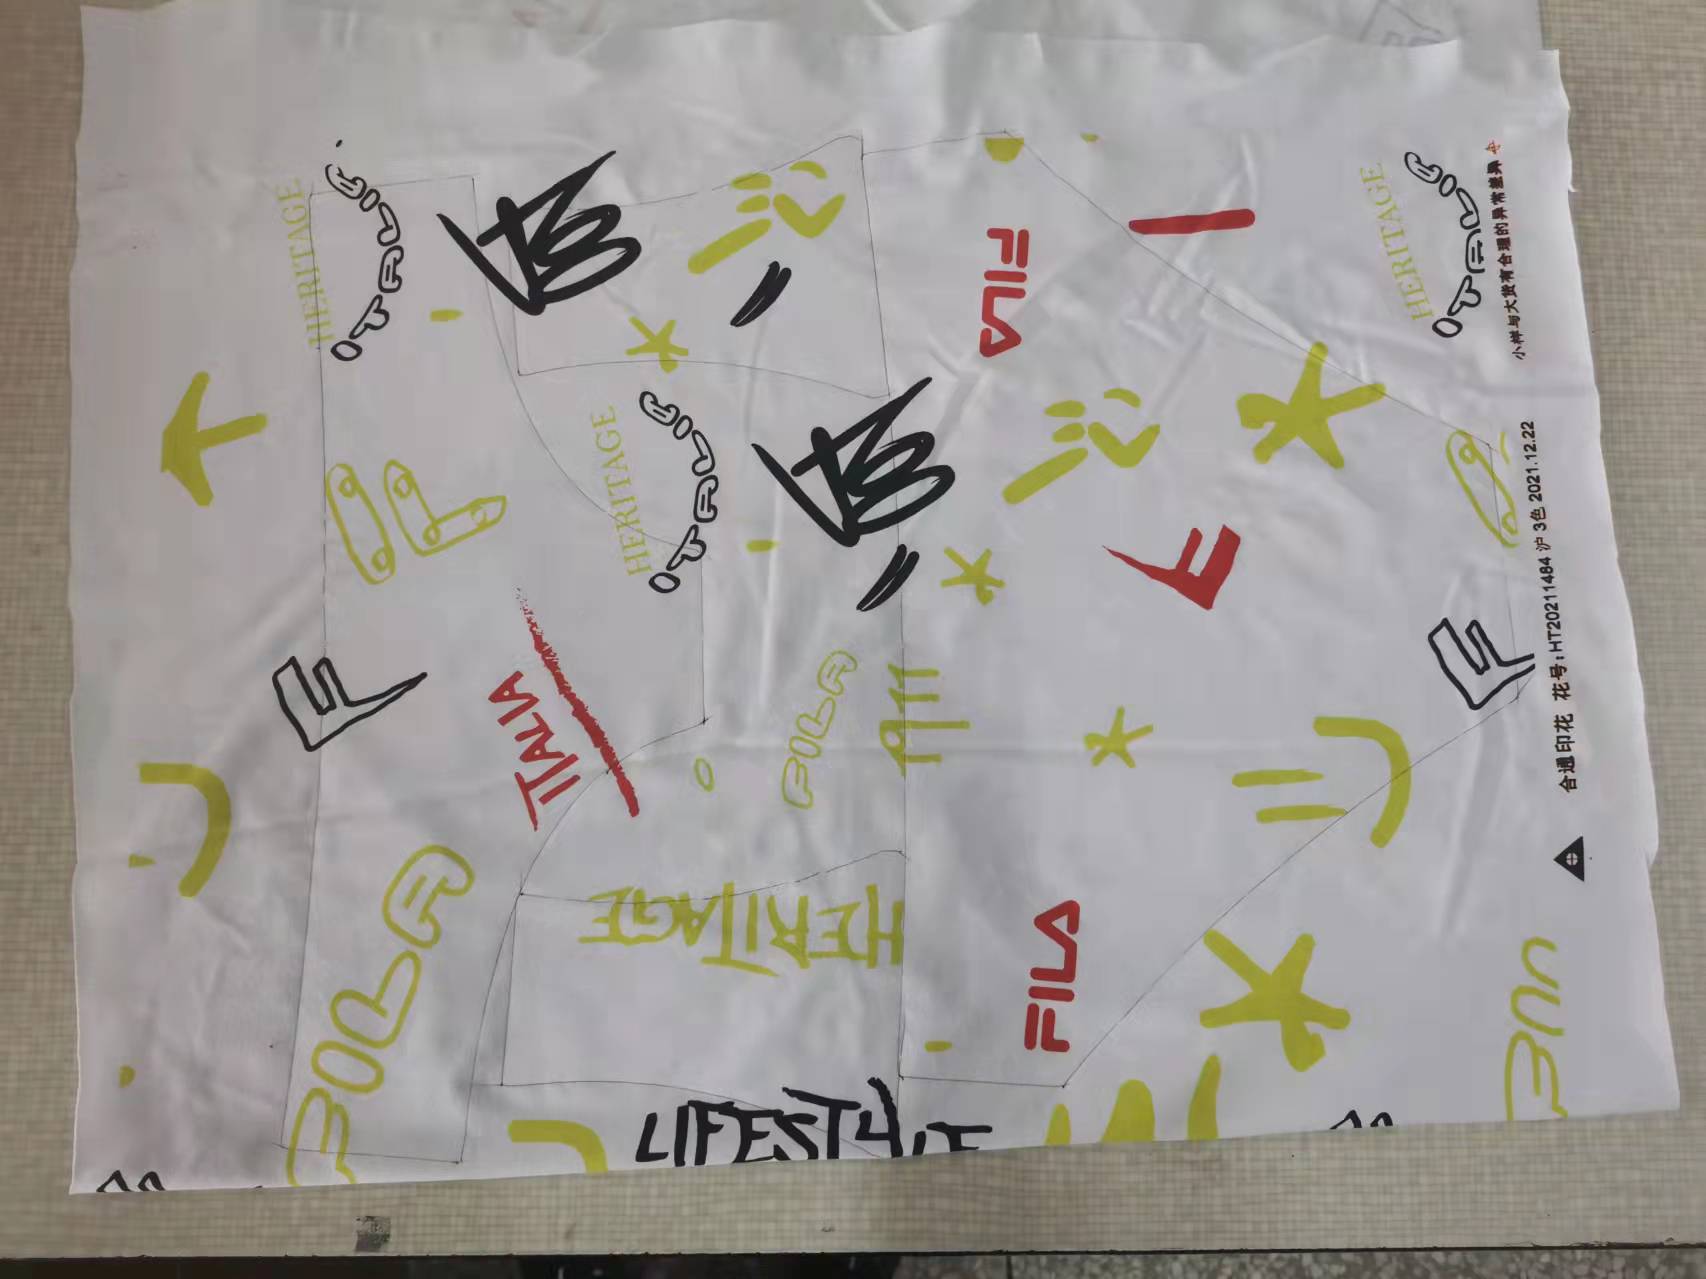
For each pair of undies you will need to cut one Front [1], one Back [2], two Gussets [3], and three pieces of elastic. One Gusset will be the internal Gusset and the other will be the external Gusset. To make my tutorial clear I have used a contrast fabric for all internal Gussets so that you can always tell what is the right or wrong side of my garment.
The elastic measurements are included in the pattern. One-piece will be for the waistline, and the other two will be the leg openings.

Underwear Manufacturer Teaches You How to Construct Basic Underpants with Enclosed Gusset
Place one Gusset [3] (the external Gusset) right sides together on the Front [1] so that the crotch seams are aligned.
Sew 1/4″ (6mm) from the raw edge using an overlocker/serger or zig-zag stitch or pin in place for now.
Open flat.
Place the Back [2] on the Gusset [3] with right sides together, ensuring that the notches are aligned.
Sew 1/4″ (6mm) from the raw edge using an overlocker/serger or zig-zag stitch, or pin in place for now.
Roll up the Front [1] and Back [2] and pin them so that they are out of the way.
Place the second Gusset [3] (the internal Gusset) right sides together on top so that the crotch seams line up and the front and back are sandwiched between the two gussets.
Sew the front and back crotch seams 6mm from the raw edge using an overlocker/serger or zig-zag stitch.
Pull the Front and Back pieces through the Gusset, turning the underwear right side out.
Press the seams flat.
Line up the side seams with right sides together.
Sew 1/4″ (6mm) from the raw edges using an overlocker/serger or zig-zag stitch.
Press the seams open or towards the back.
You are now ready to decide which method of elastic insertion you wish to use!
Underwear Manufacturer Teaches You How to Attach Fold over Elastic
Fold-over elastic has a plush side and a shiny side. Most people use the plush side as the right side, and the shiny side as the wrong side, however, you may sew it the other way round if you wish. Fold-over elastic has a line running down the center that makes it easy to fold in half.
Using this method we will not be turning the fabric in by 1/4″ (6mm) along the waist and leg openings as with the other methods. This will result in the waistline sitting slightly higher and the leg openings extending further by a little. Personally, I find the fit is still really nice and not worth making any alterations, however, if you prefer, you may trim 1/4″ (6mm) off the waist and leg opening edges before sewing the elastic so that the finished garment is closer to the other styles. I think this would be easier to do on the pattern pieces themselves before cutting out your fabric.
Place your fold-over elastic right sides together and sew the edges together ¼” (6mm) from the raw edge.
Divide all three pieces of elastic into quarters with pins.
Divide the waistline and leg openings into quarters and mark with pins.
Pin the elastic to the waistband and leg openings, folding the elastic over the raw edge to encase the raw edge. I like to fold over and pin at the quarter marks only, and then as I am sewing I gently align the rest of the fabric and elastic as needed.
Make sure that your elastic seam is sewn with seams open as above to reduce bulk.
Sew the elastic to the waist and leg openings using a zig-zag stitch and sew directly through the center of the elastic or along the edge as I did.
You will need to stretch your elastic as you sew so that the elastic and fabric are aligned.
That’s it! The basic underwear with fold-over elastic tape on the waistband and leg opening is finished. It is easy, right? Now you can enjoy sewing yourself way of the basic underwear.
Hope you’re enjoying sewing your own underwear!

Dujuan is a sourcing specialist at UnionSource China, experienced in global procurement, product development and supplier coordination. She focuses on helping overseas buyers find quality products with reliable service, clear communication and efficient order follow-ups.


